DA-HelpCreator – Easily create online help
What is DA-HelpCreator?
DA-HelpCreator is a user-friendly, powerful help authoring tool for creating online help in Windows CHM format, web pages, documentation, FAQ pages and knowledge management.
You can also benefit from our free software updates.
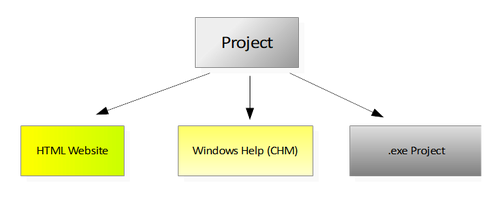
DA-HelpCreator allows easy and fast creation of content, which can then be converted into different export formats: HTML website, Windows-CHM help files or as a stand-alone Windows program.
The HTML content created is based on the bootstrap framework and is therefore completely responsive, even on mobile devices such as smartphones or tablets.
The content is entered using a convenient WYSIWYG HTML editor or Markdown syntax.
Curious? Download the new free trial version and see for yourself:
You can test the version for an unlimited period of time, note on export.
Advantages
Editors and design
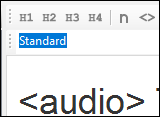 Two editors are available for entering the content. The WYSIWYG HTML editor, here you work like with a word processor, and the Markdown editor for the fast input of contents. More information...
Exports
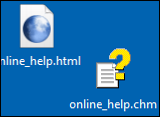 Create documentation and online help in no time at all. Export the project as HTML Web pages, Windows Help (CHM) file, or as a .exe Runtime Web page.
More information...
Macros
 Macro functions automatically create tables of contents and navigation elements, which automatically take care of linking and updating.
More Information…
Customizeable templates
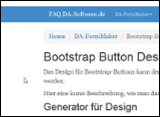 Select the design of the project from various responsive HTML templates. All templates can be customized. The CSS and HTML templates can be edited for each project. More Information…
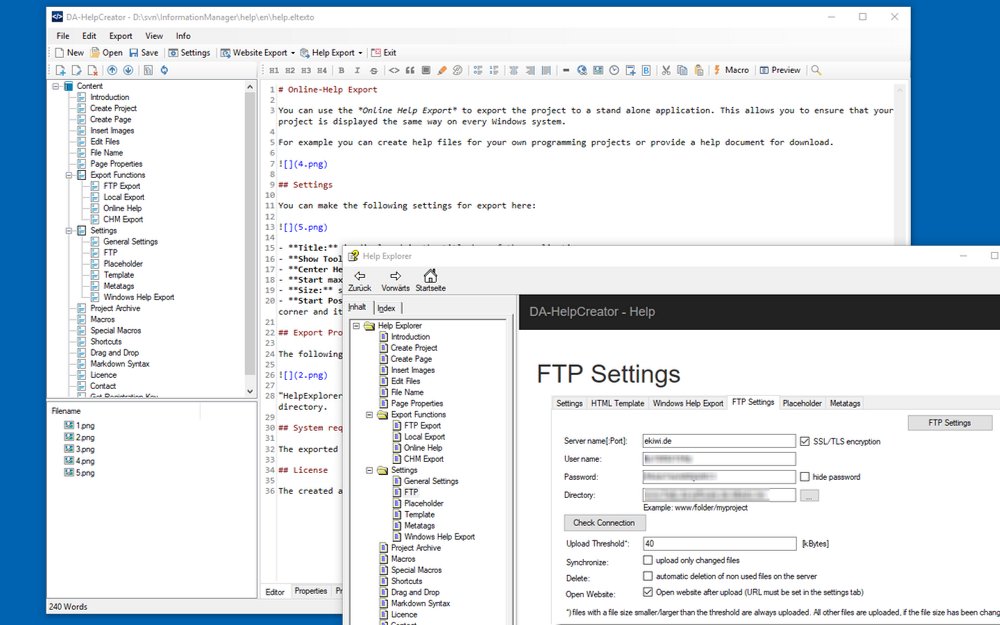
FTP upload for HTML export
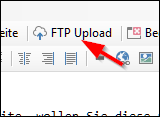 Download the export as a website with one click on your webspace, with the integrated FTP upload and synchronization function. Only changed files are transferred on request. More Information…
Open project structure
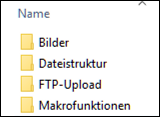 Each project is stored in an open data structure on the hard disk. The contents are managed in text files. This allows a problem-free administration with external programs, like a text editor, Subversion or GIT. More Information…
Security with static content
 The export as web page creates static web pages. This means no security holes in your project. More Information…
PDF export of articles
 Export individual articles directly into PDF format. The PDF export is configurable with its own headers and footers. Ideal for passing on information.